
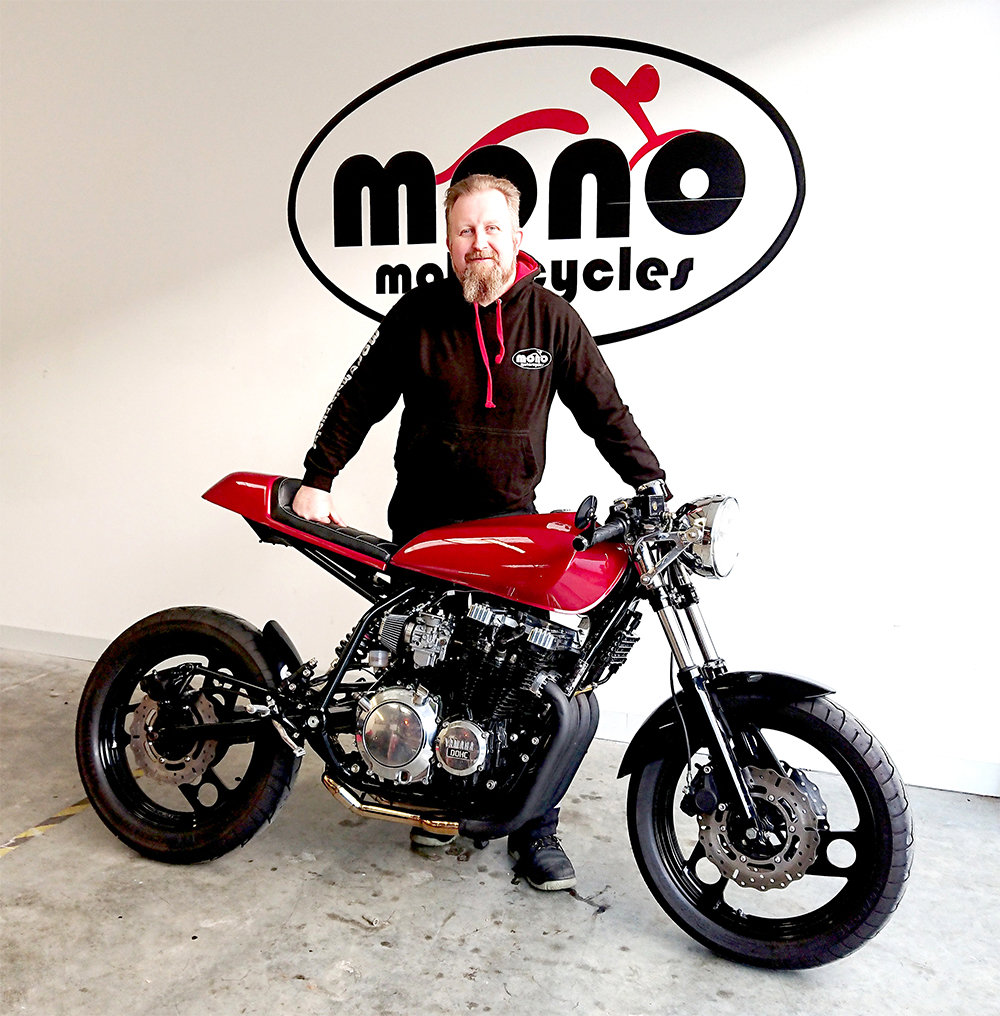
motogadget m.unit blue installation on Yamaha XJ900 Cafe Racer by mono motorcycles
Motorcycle wiring & electronic innovations are one of the core disciplines of mono motorcycles. Daniel Morris – Proprietor & Master Motorcycle Technician has his finger on the pulse when it comes to the very latest innovations in the automotive/motorcycle world.
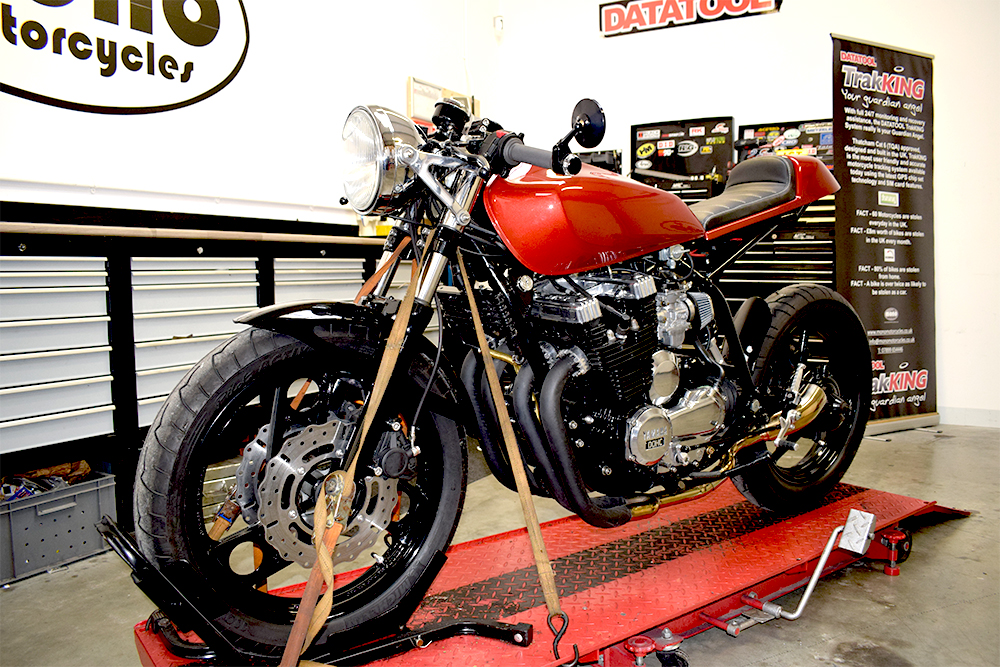
Therefore, when mono motorcycles were contacted by a man with a Yamaha XJ900 Café Racer who was seeking someone to re-wire & upgrade his motorcycle, Daniel saw an opportunity. The opportunity was influenced by the ‘motogadget’ range of products.
‘motogadget’ are on the cutting edge of innovative & inspirational solutions for motorcycle electronics. Their ‘motogadget’ m.unit blue is THE biggest innovation to happen to modern motorcycle building.
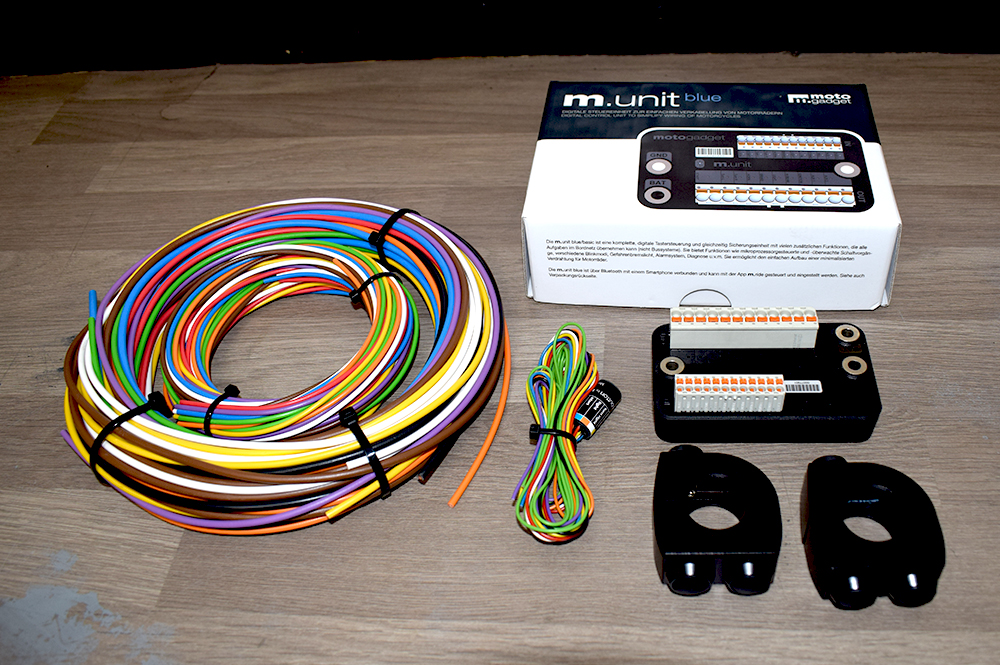
The ‘motogadget’ m.unit blue uses can-bus digital networking to eliminate the need for relays & fuses also halving the amount of cabling, using single touch buttons that can control multiple commands through one switch, making for neat, precise & minimalistic builds.
An example of this is the headlight.
Push the headlight button once quickly & the main beam will flash. Press & hold the button for 1 second, the headlight low beam will come on. Press again & it will bring on the main beam & again will switch the head light off.
One button. One wire. Thus eliminating 6 wires, 2 relays & 2 fuses from the loom & that’s only one switch circuit.
The ‘motogadget’ m.unit blue can also detect what type of indicators are fitted & flash at the right speed with whatever load, LED or bulbs. You can also set up auto cancel to switch off 30 seconds after releasing the brakes should you forget.
The rear side light & brake light can be wired using only one wire. Joining the one wire to both connections at the rear light unit, the ‘motogadget’ m.unit blue uses pulse width modulation to control the light.
The easiest way to explain this set up is the rear light is sent a digital wave to both the side & brake lights. The rear light would receive a lower voltage (around 5-6v on a 12v system making a dim light), then when the brake light is activated, the m-unit blue would send a full 12v signal making the light brighter.
The ‘motogadget’ m.unit blue can also sense de-acceleration & utilising a g-sensor, can detect hard braking, which then flashes the brake & hazard lights, to help prevent a rear end shunt!
Another feature, should you choose to use it, is the keyless system called m-lock, (we have not opted for this option on this particular build) This can be activated via a fob or even from the Bluetooth from a smart phone!
That’s only really touching the surface of what the ‘motogadget’ m-unit blue is capable of. So how do we set about a project like this one?
First, an assessment of the Yamaha XJ900 was undertaken along with lengthy conversations with our customer on what he wanted in regards to switches, wiring & other modifications.
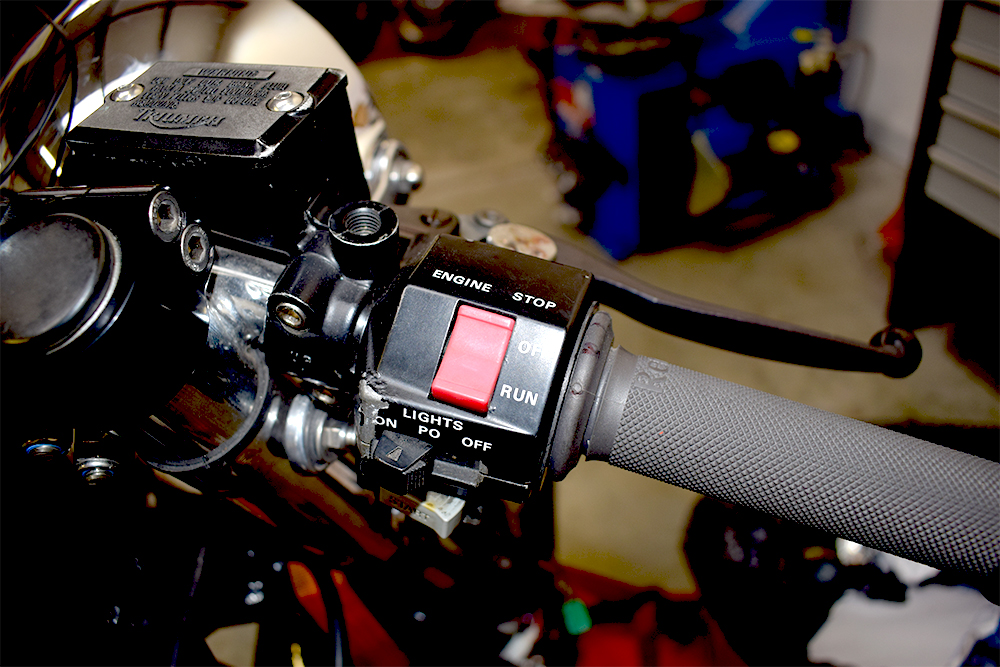
Secondly, we checked that the XJ900 ran & charged correctly, in case any parts needed replacing. We noted that we would need to replace the throttle housing, as the original incorporated the Yamaha switch gear that we were swapping in favour of the ‘motogadget’ items.
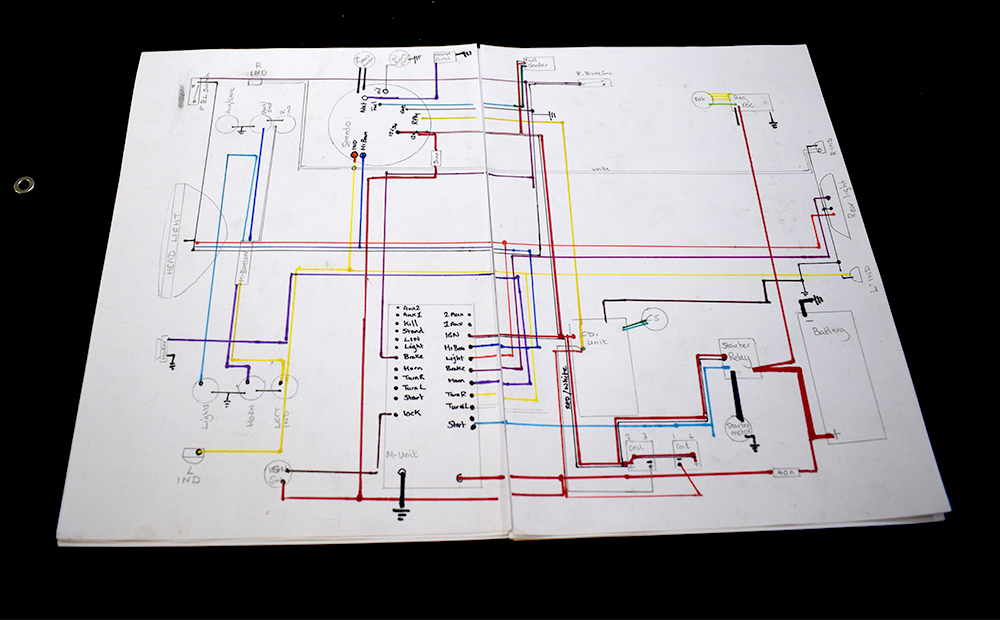
We then had to study the wiring diagrams & draw up a sketch of the loom & wiring colours that we would need. As always the drawing would grow & change slightly as we installed the ‘motogadget’ m.unit blue on to the Yamaha XJ900. A final drawing will be given to the customer upon completion of the Yamaha XJ900, for future reference.
On this build the customer had already invested in the Acewell speedo. Although we could have changed this out for the ‘motogadget’ speedo, as the Acewell was already fitted, it was decided to continue with this option.
The first physical work entailed carefully removed the old wiring loom. Nothing goes to waste at mono motorcycles & many parts of the old loom could be reused.
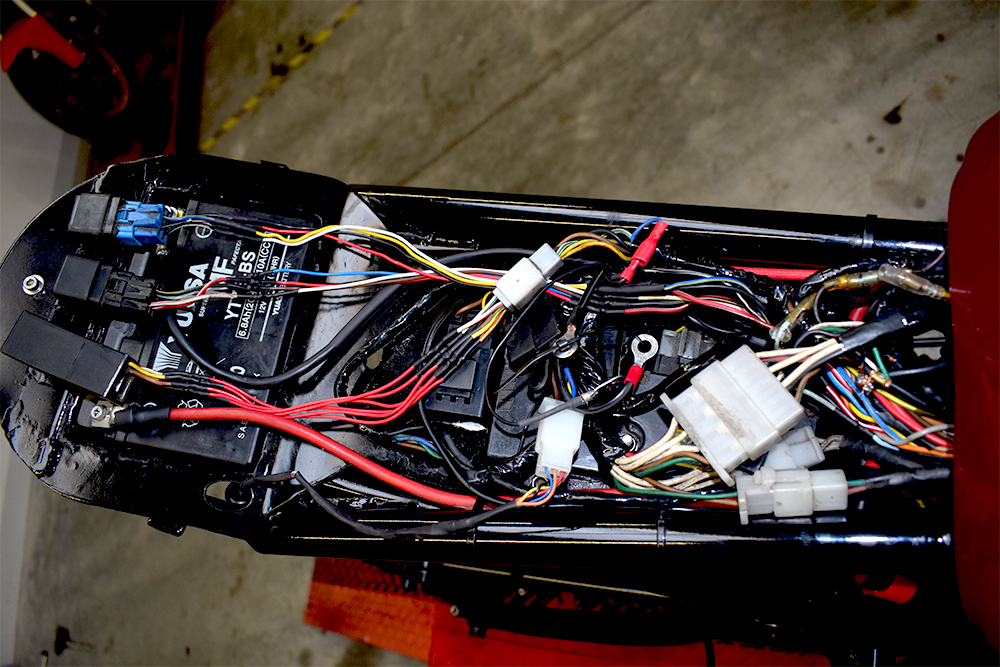
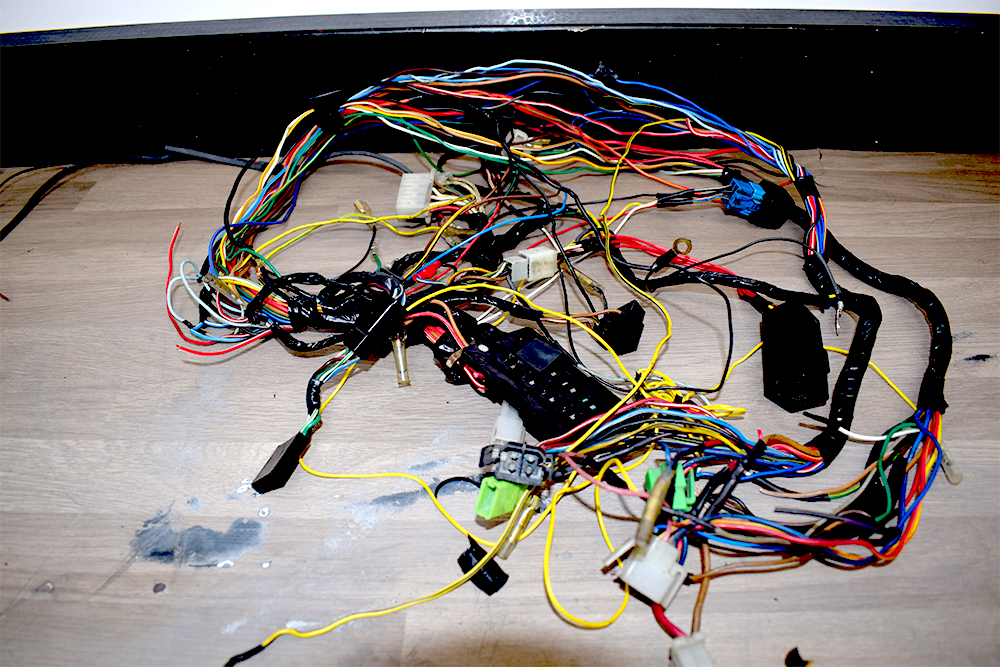
We carefully un-wrapped the loom removing both the ignition control unit & the charging system, as these would need to be checked & re-installed back onto the Yamaha XJ900. We also cleaned some of the connectors that we would be able to use later on in the building if required.
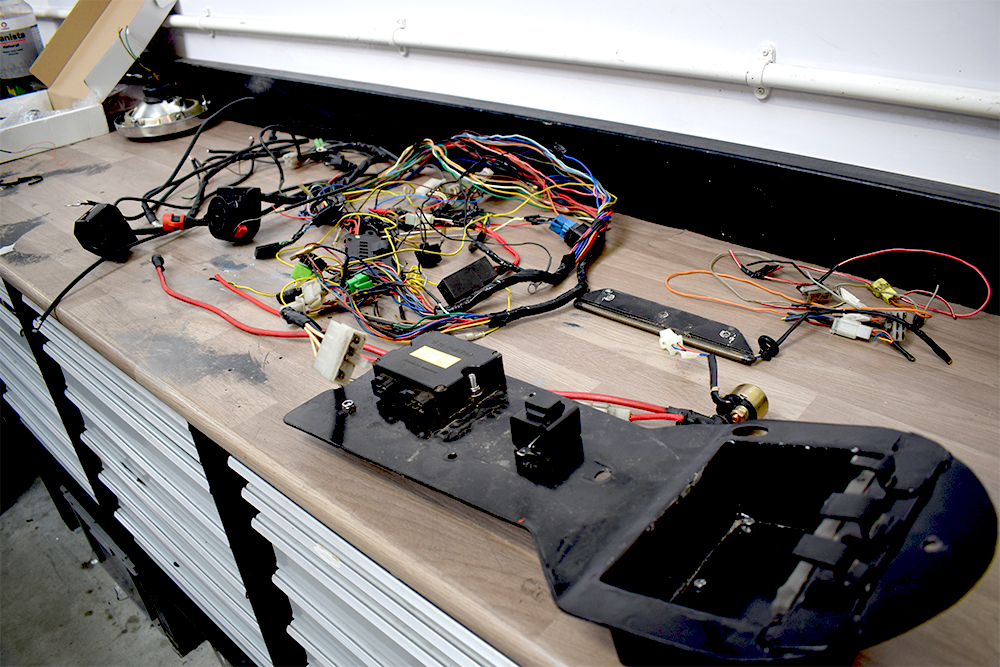
With the loom removed the next task was to tidy the wiring that remained on the Yamaha XJ900. We re-routed the rear brake light switch which was moved from the top of the master brake cylinder & then hidden behind the rear calliper bracket. We then removed the speed pick up sensor from the front to the rear of the Yamaha XJ900, for a cleaner line look.
We then set about drilling the handle bars to allow the wires for the switch gear to run inside the handlebars. We also removed the plate that the battery & old fuse box was mounted to & tried different positions for the ‘motogadget’ m-unit blue & ignition control unit. Once satisfied that the unit’s would fit, we re-painted the plate satin black.
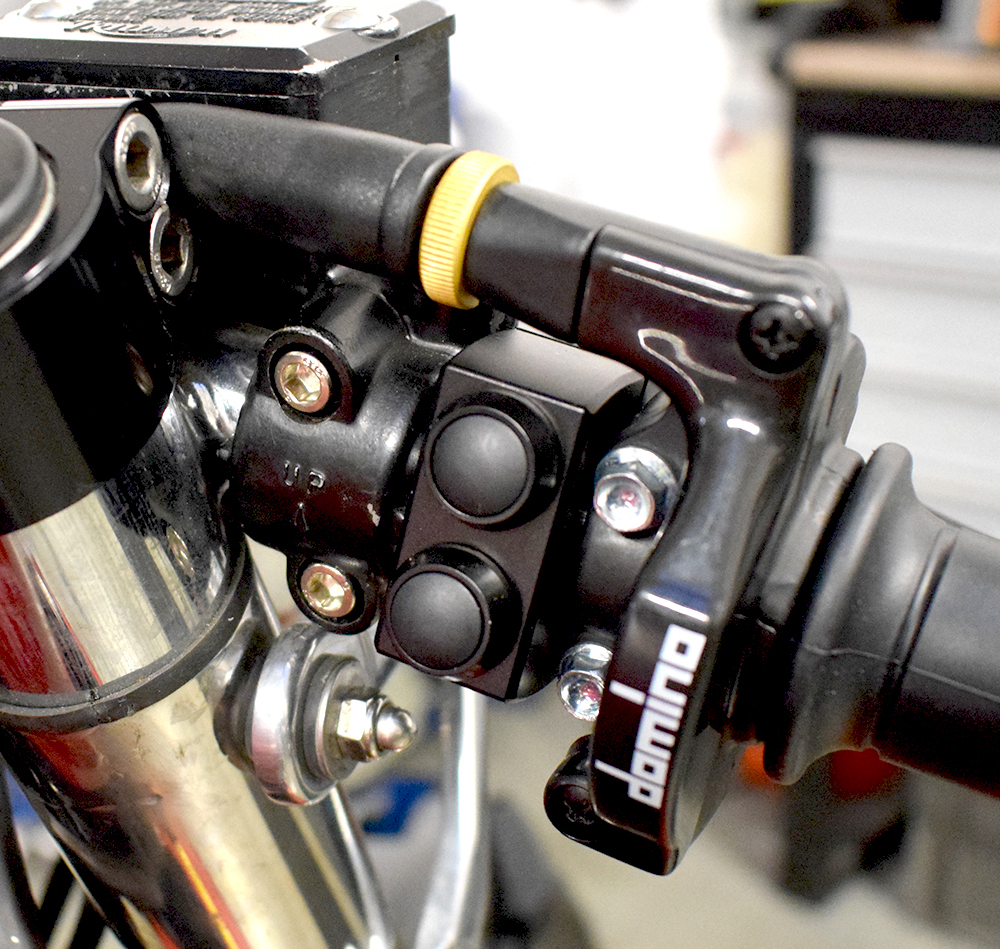
While the paint was drying, we started making a new throttle cable to fit the Domino Quick Action Throttle & fit the ‘motogadget’ switch gear. By this stage of the proceedings we were already 18 hours in & we had not even started to add the new loom in yet!
At the start of our third day on Yamaha XJ900 ‘motogadget’ m.unit blue installation, we were finally starting the create the loom. I always start with the heavier wiring, therefore earth straps & power to the ‘motogadget’ m-unit blue & starter.
I started with the output wires, laying them from the ‘motogadget’ m-unit blue to the headlight. The ignition switch live, needed a few spurs off to the coils & ignition module on its way to the headlight. At this stage I ran a piece of tape around the loom at 2 inch intervals. I also needed to run wires back from the speedo, namely neutral, oil & constant power for the Acewell speedos clock.
Once laid in position attention was turned to the input loom which I ran down the right-hand side of the frame. Before connecting to the switches, I undertook a quick continuity test to ensure everything was working correctly. I then joined the connections in the headlight, from the switch gear, leaving the output side until I had tested each circuit watching each output light up on the commands of the input switches.
The last part of the process entailed the headlight. This is where most of the connections for the functionality of the Yamaha XJ900 are located. Once I knew that all of the wiring worked correctly, the excess wiring was trimmed back & I then set about fitting the Japanese style connectors.

The next phase of the installation entails setting up the calibration values using the ‘motogadget’ m.ride app through the users smart phone. The ‘motogadget’ m.ride app enables the user to see their fuel, temperature, battery voltage, tyre pressures & even the weather on their smart phone. In addition, you can set the app to remind you when your oil needs changing, when you need a service & even an alert for your tyre pressures. As the ‘motogadget’ m.ride app is also connected to GPS, you can also always have access to your last ride information, building a log book of your trips.
The versatility of this ‘motogadget’ m.unit blue technology is astounding. The ‘motogadget’ m.unit blue can be used with any motorcycle, irrespective of age, make or model; making this an ideal solution for your Café Racer, Bobber, Chop or even an upgrade to your factory road motorcycle.
mono motorcycles offer a fully bespoke wiring package using the ‘motogadget’ system. Please contact Daniel Morris on 07899 654446 or contact us through our contact page.