Honda Zoomer motogadget wiring installation at mono motorcycles
Our latest motogadget install has been a little interesting & by little, I mean a very small or at least very low!
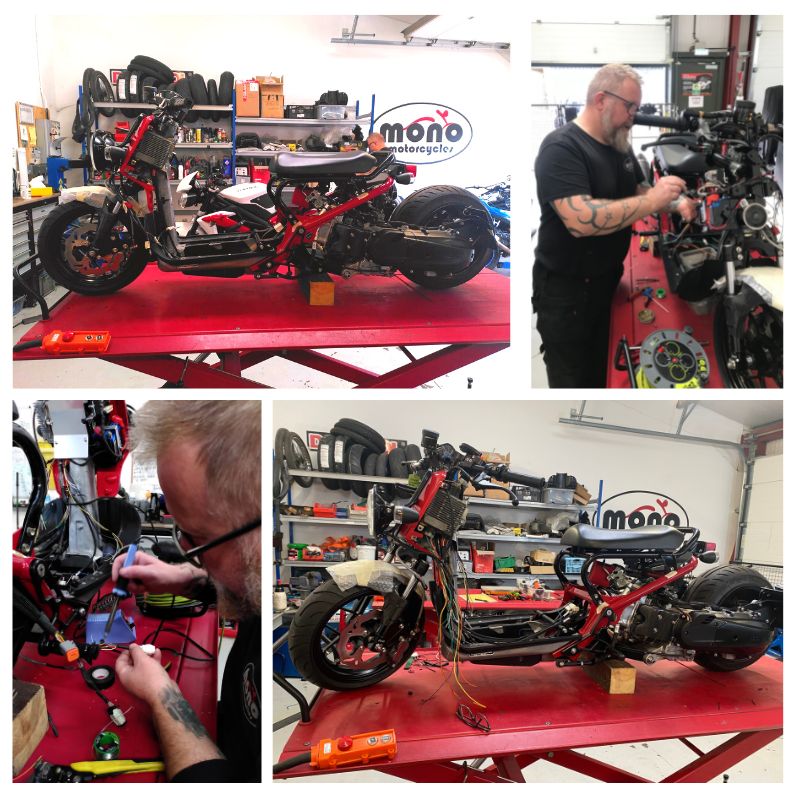
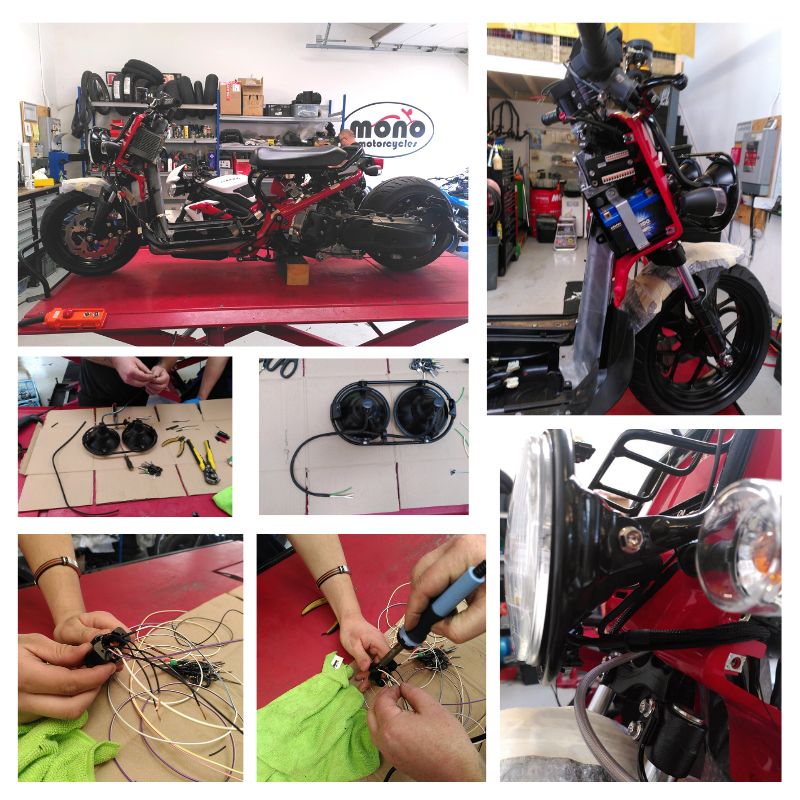
The Honda Zoomer also known as the Honda Ruckus, is a rare site on UK roads but are very popular in the USA. The Zoomer is normally fitted with a 49cc moped motor, but this example is rather special.
This particular Zoomer is now fitted with a 125cc motor from a Honda PCX scooter with wide wheels, custom exhaust, modified suspension, bigger brakes, carbon hugger, the list is endless. When going this far with a build why wouldn’t you go with the very best in electronics & run a motogadget m.unit & motoscope pro dash!
That’s exactly what our customer wanted!
Note: The Honda Zoomer was a non-start at receipt.
Now you would think with this being a 125cc scooter the wiring would be simple, right?
Errr no actually. The Honda PCX 125 is fuel injected with stop start technology which uses the stator as a starter motor by switching the polarity turning the generator into a starter motor. A long way from a kick start, carb & single wire coil.
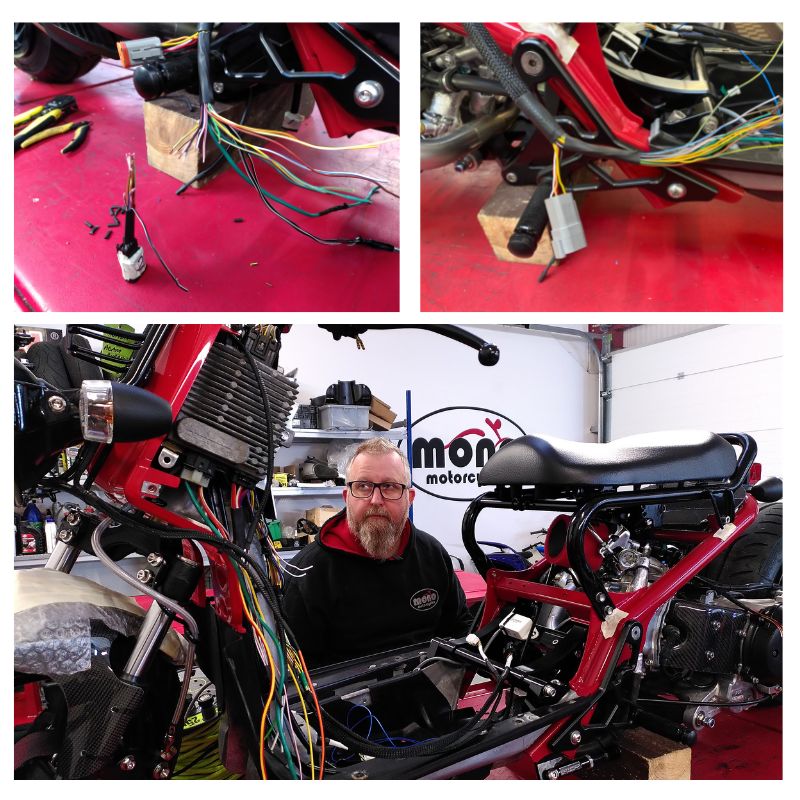
Our customer wanted the original engine loom shortened & the front wiring loom lengthened so the connection plugs sat behind the fuel tank which is mounted in the floor, making engine removal easier if required.
We also had to marry the m.unit wiring – including the motoscope pro dash – to the injection wiring loom, add the breakout box, GPS sensor & the single touch buttons & to finish it off everything had to be on plugs for easy removal.
So where to start.
Whenever we undertake a motogadget installation, we not only have lengthy discussions with the customer in advance, but we also draw up a pre-contract to enable us to gather as much information about any modifications which have already been completed to the motorcycle in question.
Once we know which components – dash, switchgear, etc – the customer plans on using, we always start with drawing a bespoke wiring diagram.
Then, in this case, we needed to work out what power the ECU needed to work, as well as which components we didn’t need. To do this a lot of time was spent studying the factory Honda wiring diagram. The good thing is the ECU, reg/rec, battery monitor & switching unit are all in one unit (provided you never have to buy another!) This made our job a little easier.
The PCX has an idle switch & if the battery monitor sees enough energy in the battery & the bike is at a standstill; it will switch the motor off unless the voltage drops, or you open the throttle in which case it will fire back into life.
This is to save fuel & keep emissions low for riding in town. We didn’t need this function, so we had to work out which wires controlled it & bypass that function keeping the bike running. We also bypassed the side stand & brake cut out switches.
One thing which puzzled me was the relays marked on the Honda drawings as “start & charge relay”. The main relay provides power to the start/charge relay but following the wiring diagram from Honda it didn’t make any sense. The power just looped around & back to the battery via the fuse box. Then the penny dropped. It’s not really a start/charge relay, it’s actually a power hold relay.
A power hold relay switches off the lights when pressing the start button, this saves the battery & gives more of the voltage to the ignition system. It does this by cutting the power to part of the fuse box in turn switching off the lighting circuit. We didn’t need this as the m.unit takes over this function. We then had to figure out which wire triggered the start operation.
Once done, we could start stripping out any unused wires & building the front wiring loom. The front wiring loom also had to run down the side of the fuel tank, inside the frame rail.
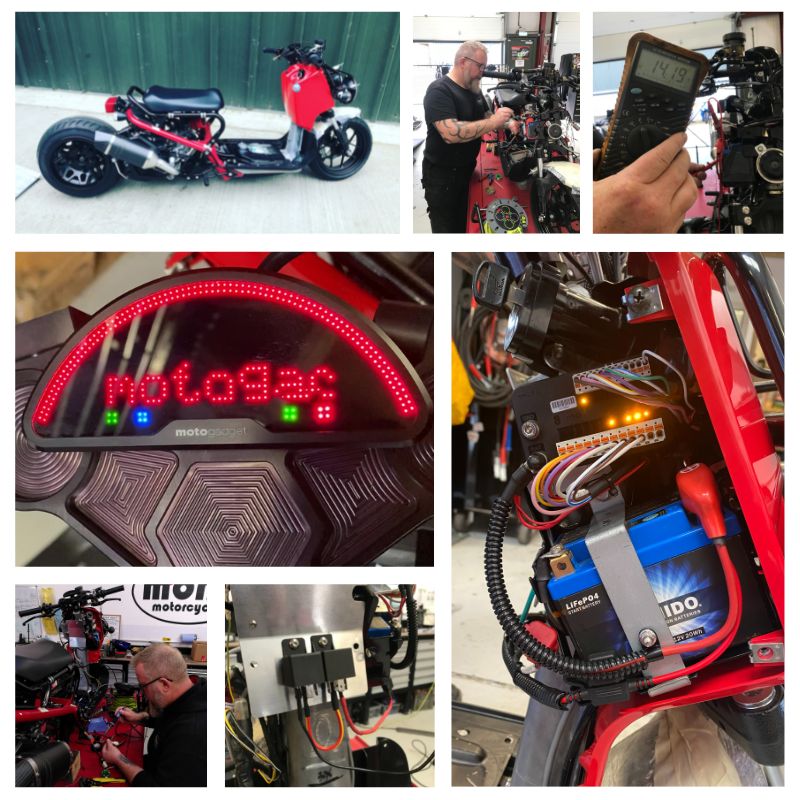
The front wiring loom wires which were not needed were located & removed. We then fitted the motogadget Breakout Box B. All motoscope pro indicator lights, temperature and oil pressure signal cables are connected to the msp Breakout Box B.
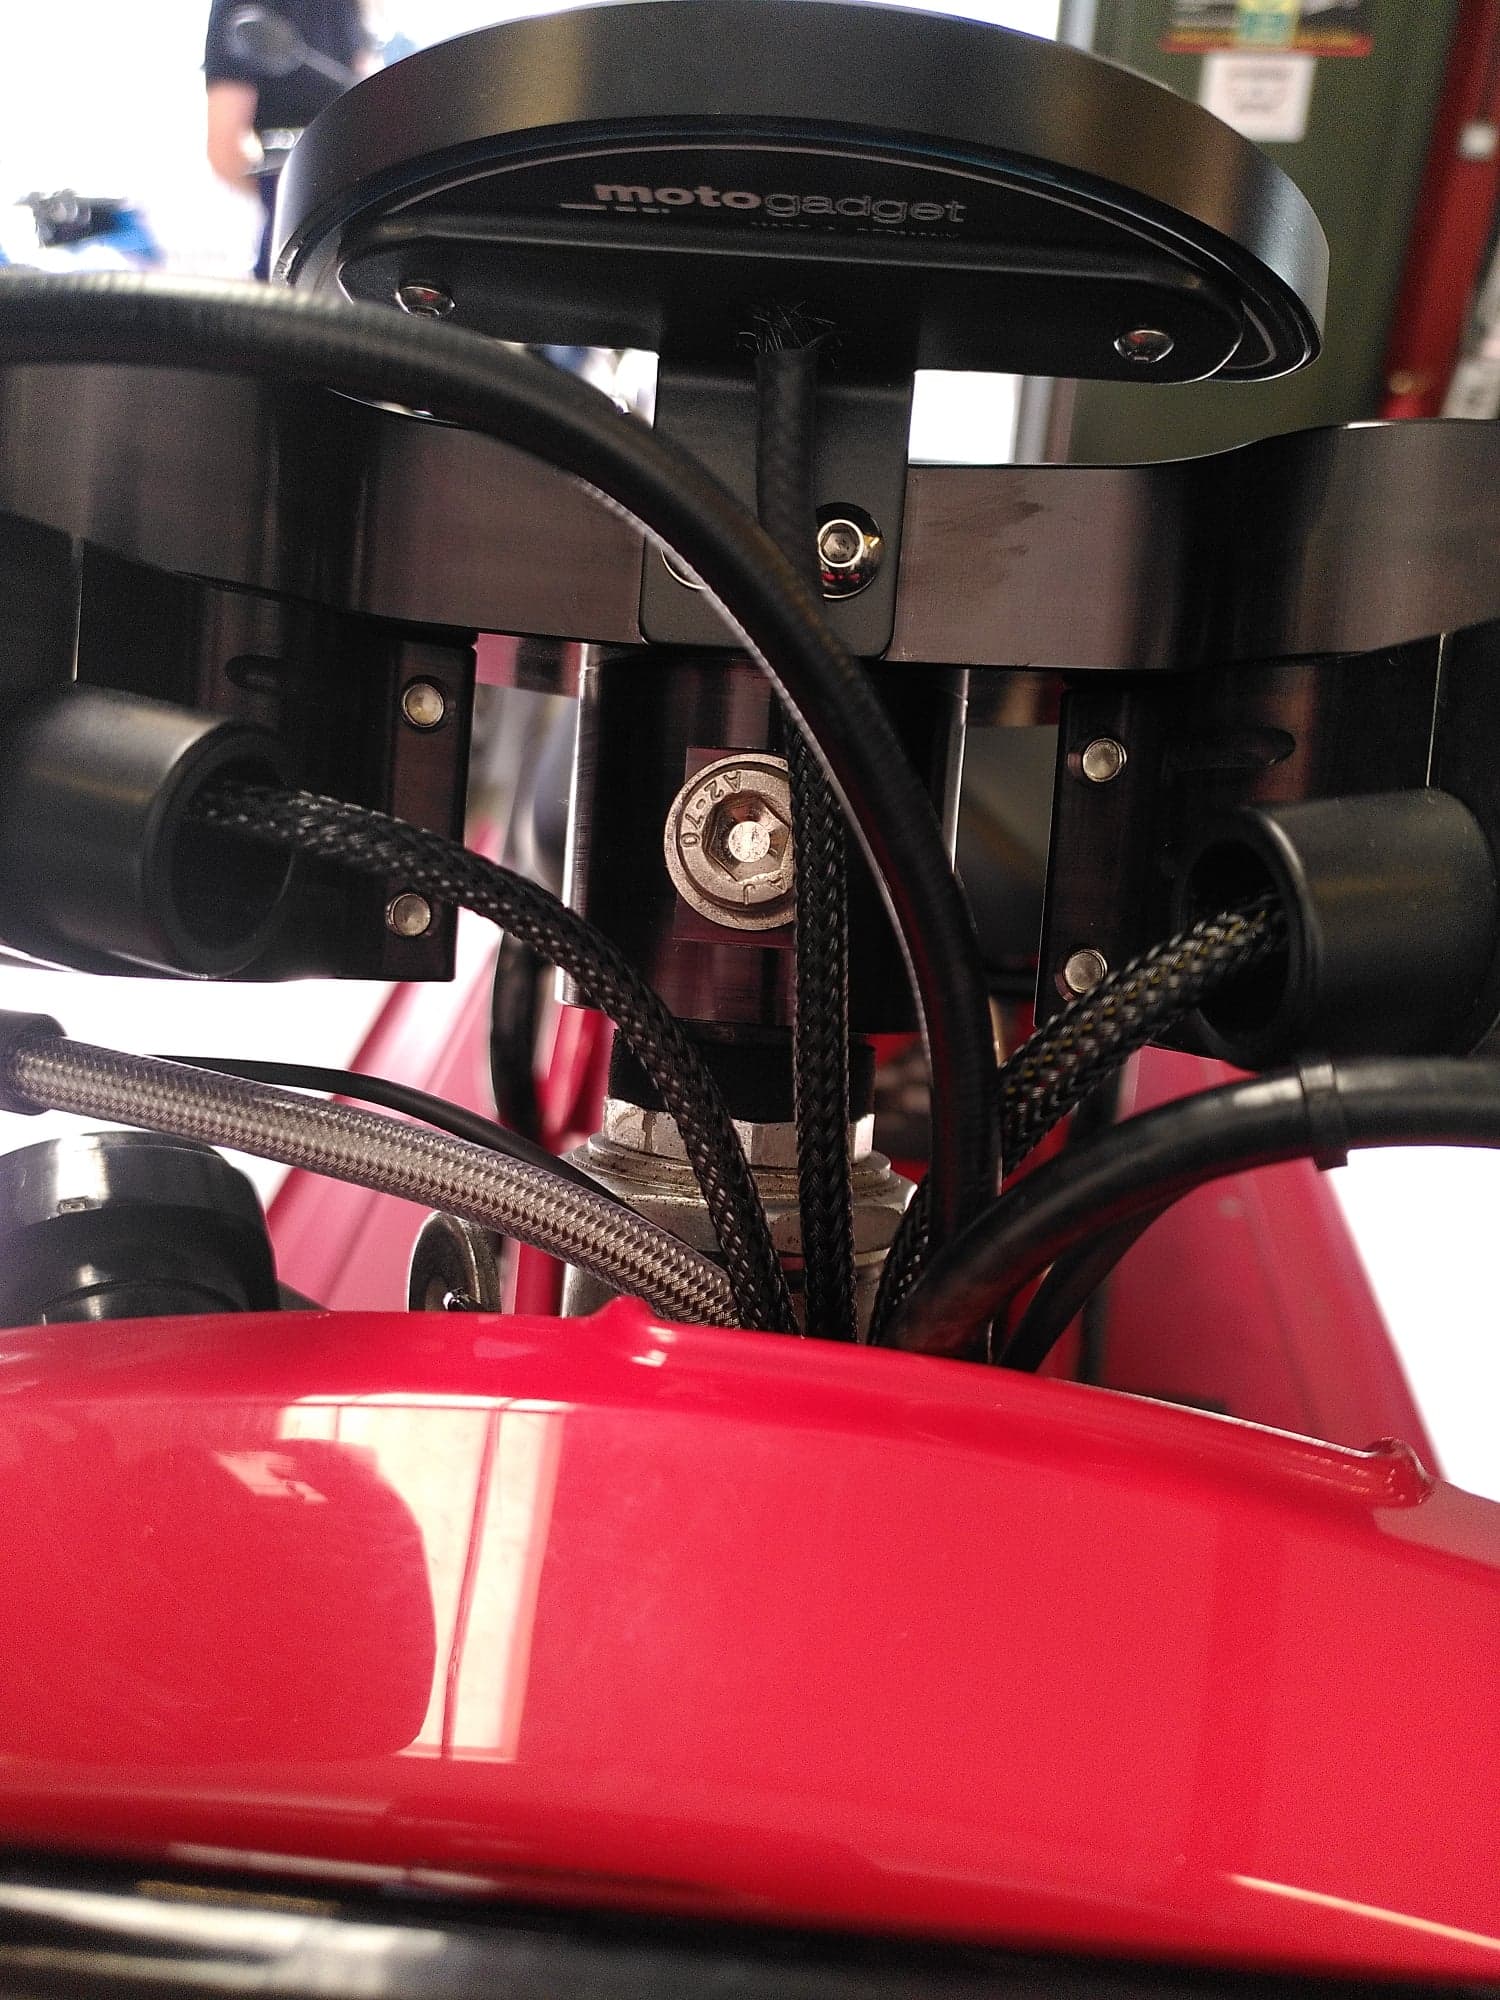
The front loom having then been extended so the plugs fitted behind the fuel tank, was then wrapped & braided.
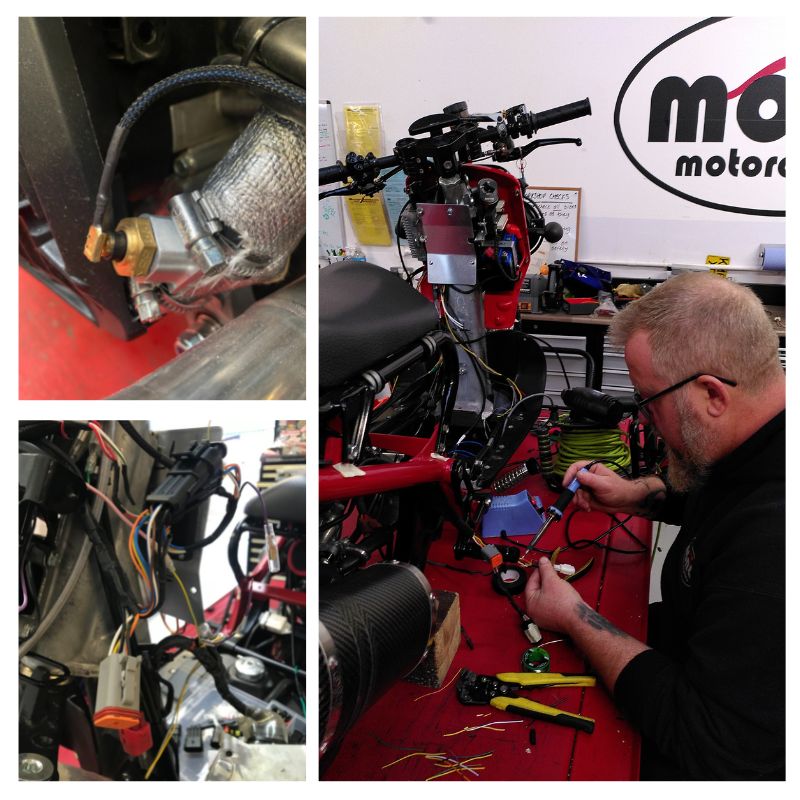
Once the original switchgear had been removed, we drilled holes in the handlebars for the momentary push switch wiring. We then wired the rebelmoto switches, routed the wires through the handlebars & fitted them to the handlebars. Then power & earths were created & supplied to the m.unit.
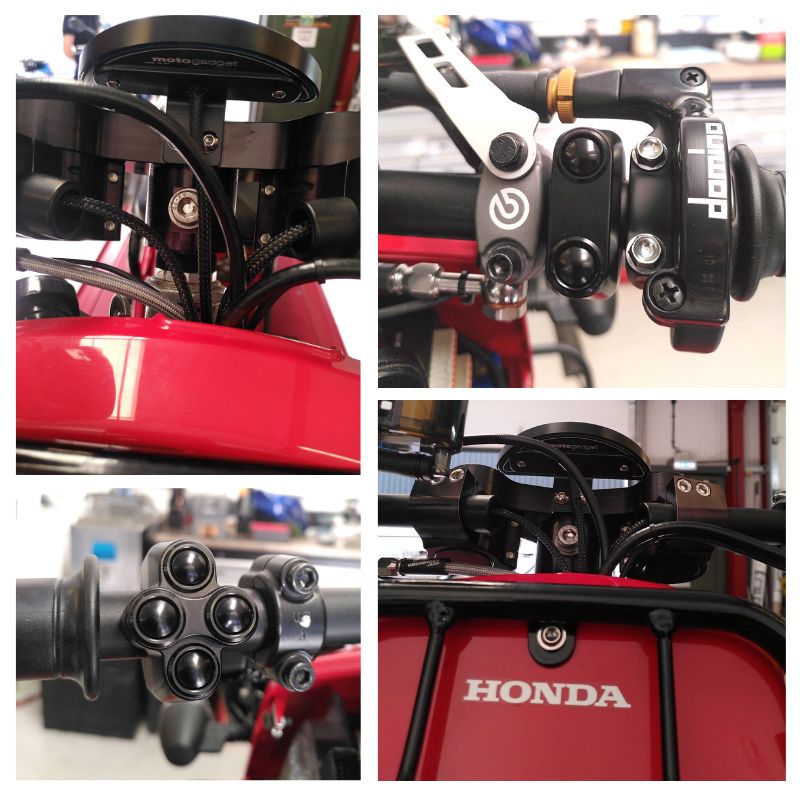
We also needed to run a couple of fuses. The dash needs to be protected by a 1amp fuse & the charging system is covered by a 30amp fuse.
As part of the modifications to the original engine wiring loom, we had to remove it, remove the plugs, shorten the wires & re-install the plugs. This was to allow the plugs for the loom to sit behind the fuel tank.
The plugs from the rear lights were then removed, the wires shortened, braided & new connectors fitted. We then extended the wire for the number plate light. The rear light loom was then created & added into the rear engine wiring loom. This was again braided.
As part of our expert service, we now use a 3-stage process when crimping wires along with Deutche waterproof connectors. They are more expensive, but they are very good quality & provide additional protection to connections.
The wires are prepared by stripping back the wire & solder is “tinned” onto the wire. A small amount of heat shrink is placed onto the cable before adding the crimp connector.
We then introduce a small amount of heat to the connector to melt the solder to the connector before putting the heatshrink over the connector & shrinking down. This all takes time but makes for a very strong connection.
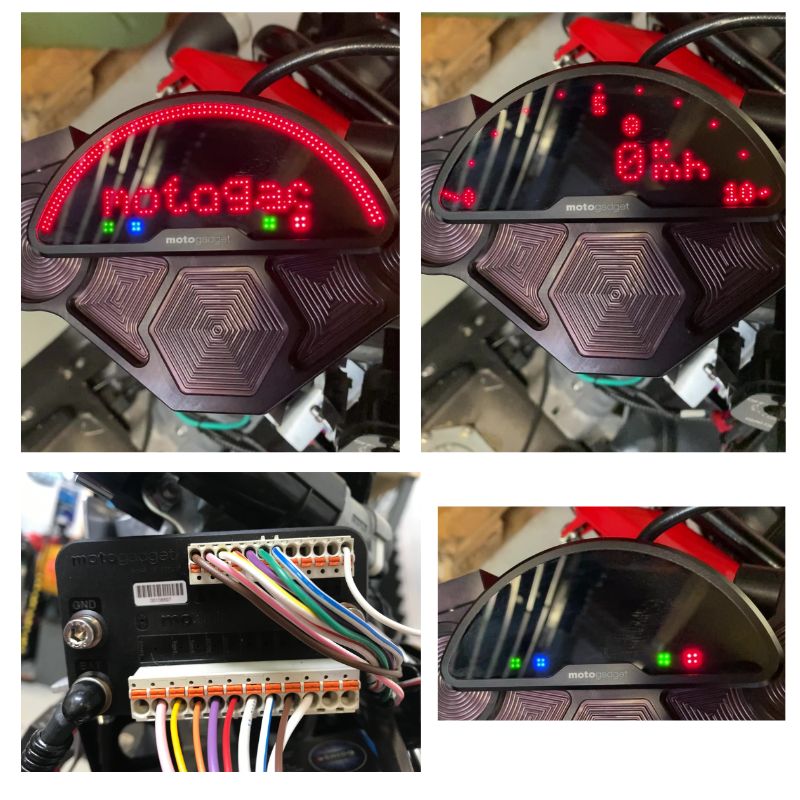
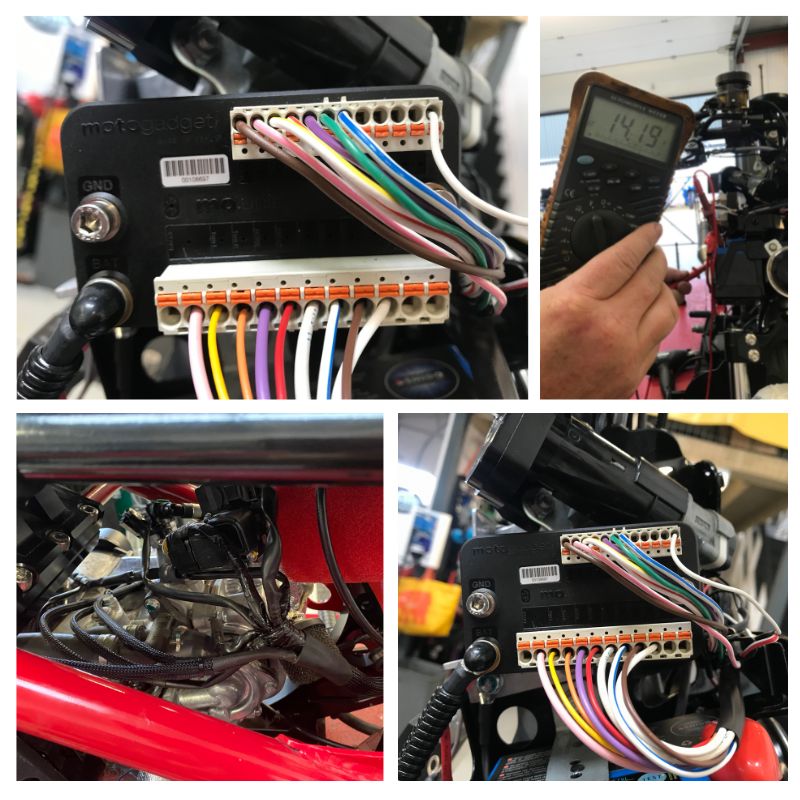
Once the dash & lights were wired, it was time to see if it would start. The Zoomer fired straight up & was charging at 14.2v. Success!
The final things we needed to do was set up the dash. One of the things was to work out the ohm readings from the fuel sender. This can then be added to the dash setting so the fuel gauge works correctly.
To give you an idea of the investment made by our customer just into the wiring, this little Zoomer has taken over 24 hours to wire up (including the bespoke wiring diagram) @ £55 p/hr + apprx £150 consumables + VAT @ 20%. In this case the customer had already supplied his own parts.
Components customer used:
motogagdet mo.unit blue €399.00 https://www.motogadget.com/shop/en/m-unit-blue.html
motogadget motoscope pro dash €399.00 https://www.motogadget.com/shop/en/motoscope-pro.html
rebelmoto switchgear 4 button €96.00, 2 button €78.00 https://rebelmoto.com/
The motogadget system can be used on carbed & some fuel injected motorcycles. With fuel injected bikes, the engine loom has to remain mostly intact to run the fuel injection system.
The motogadget installation can do away with lb’s & lb’s of additional unnecessary lighting, switchgear & dash wiring, leaving a light weight feel to the loom & a minimalistic look to any custom bike.
If you are interested in a motogadget system for your custom motorcycle, then please do contact me in the first instance via email, giving details of your custom project & we can open a dialogue about your requirements info@monomotorcycles.co.uk
Written by Daniel Morris, Proprietor, mono motorcycles