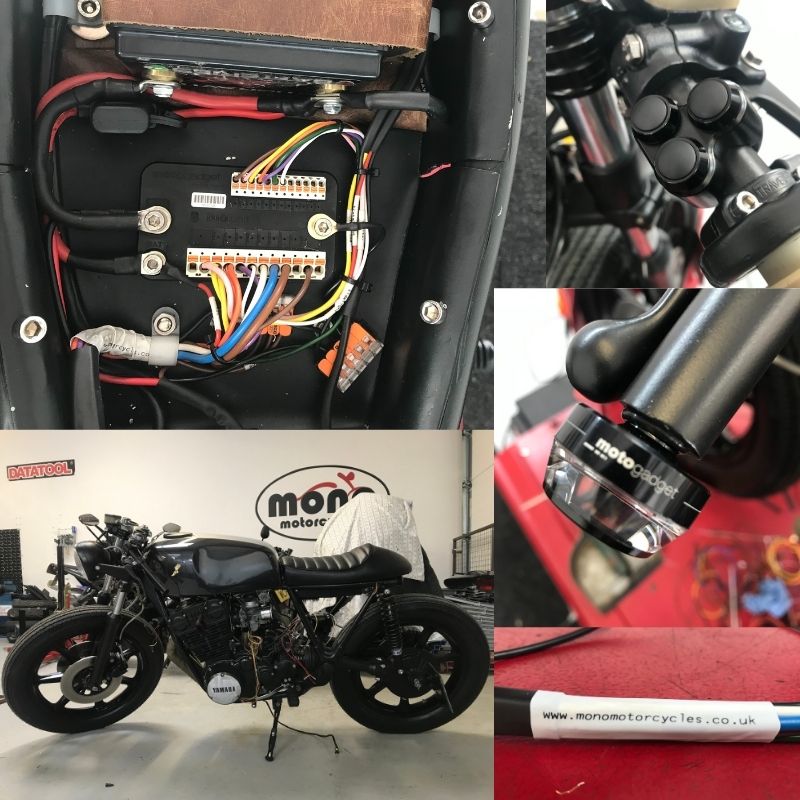
motogadget wiring install on Yamaha XS750 @ mono motorcycles
Motorcycle wiring is like the central nervous system of a motorcycle.
Each wire carries electrical pulses to essential components. Just as with a human central nervous system, motorcycle wiring must be treated with the utmost care, consideration & an absolute knowledge of how the system works.
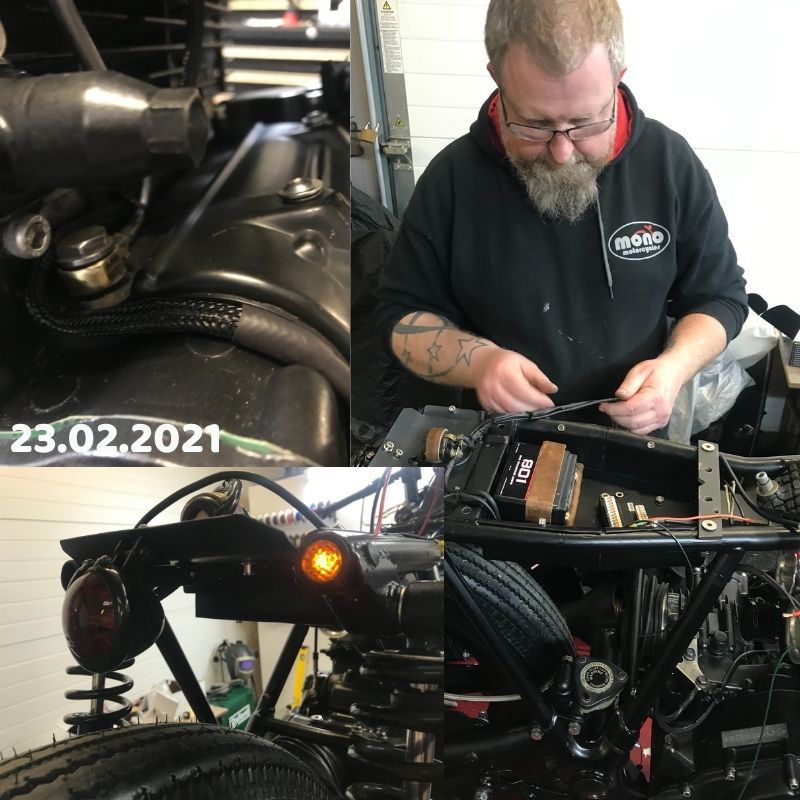
Daniel takes enormous pride in being able to offer customers the very latest in motorcycle wiring solutions. The glory of Daniel’s work is in the fact that for the most part, it cannot be seen; hidden away, sending silent signals throughout each wire.
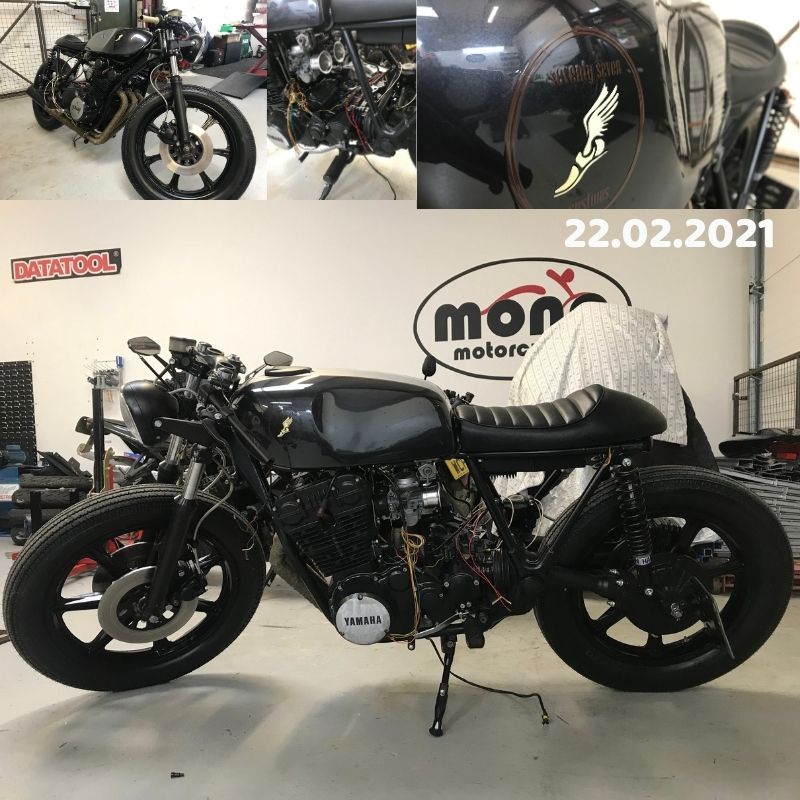
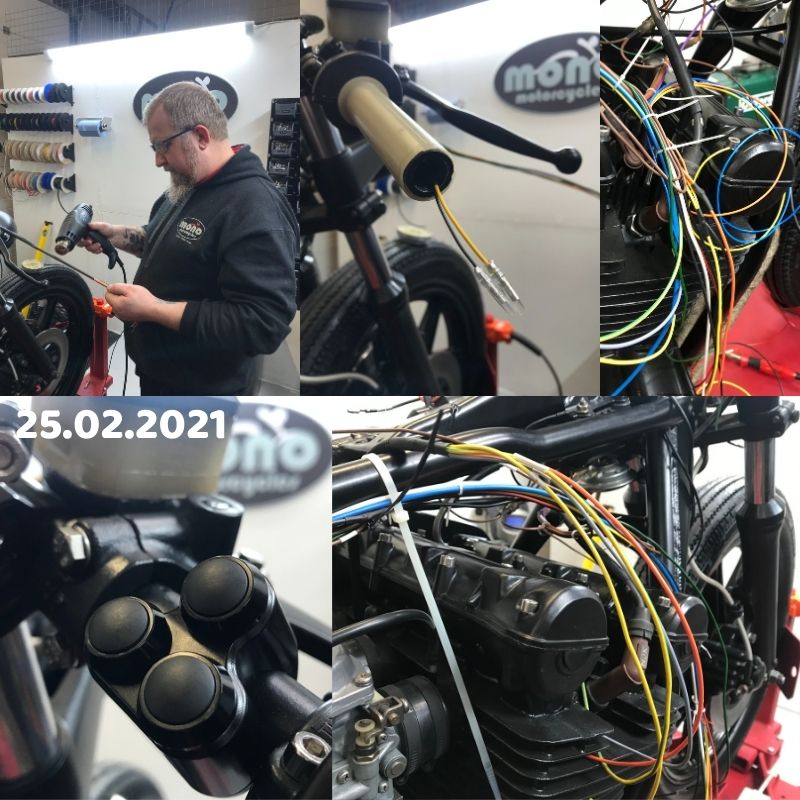
This week we have welcomed our third Yamaha XS to the mono motorcycles workshop this year. We have already seen the motogagdet install for the Yamaha XS650 Scrambler & the capacitor wiring for the Yamaha XS650 Flat tracker. So how does the Yamaha XS750 wiring differ from the other two? Here is Daniel Morris – Proprietor of mono motorcycles & motorcycle wiring specialist to tell us more.
“As you know, every job we welcome through our doors is different from the last & none more so than the motogadget installs. Not only is each install individual & unique, but we also constantly strive to adapt, improve & diversify on every job we welcome to the mono motorcycles workshop.
With all our motogadget installs we start with drawing a wiring diagram. Although we have completed a few Yamaha XS650’s now, the wiring diagram can be very different from model to model & depending on what our electrical choices our customer specifies.
The Yamaha XS750 Triple was already running a motogadget m.lock keyless ignition. Our customer knowing how good the motogadget products were & fed up with the bike breaking down with silly electrical faults; sought us out before “it ended up in a pond” His words, not mine!
One thing we focused on for this motogadget install, was making the wiring looms a little more like the wiring looms you would expect to see on a production motorcycle, although a lot less cluttered & as hidden as possible.
The first motogadget wiring looms we created were joined up. On some motorcycles which are really exposed, there can be no room for connector blocks. This is fantastic as it makes the wiring extremely neat & compact, but an annoyance if you have a failed component or you want to strip the bike for any reason.
Therefore, we have been working hard to make this work better on the wiring looms we build. With this in mind & for this XS750, we have made two separate wiring looms which in a few minutes can be unplugged from the motorcycle making servicing & upgrades easier.
Up until now we would normally start with mounting the m.unit, battery & starter solenoid & work outwards from there. This time after finding the location under the seat for the m.unit, we decided to not fix the m.unit until the wiring loom was made.
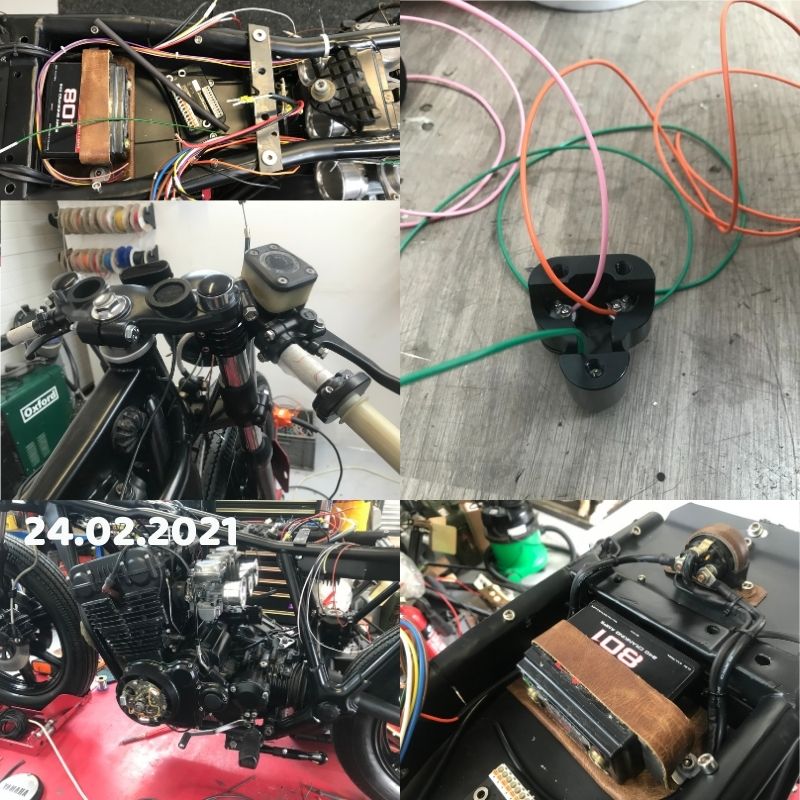
Instead, we started with extending & replacing all of the old wire from the components like the points & lights. We then began making small looms from the momentary push switches, making sure each wiring loom was long enough & also considering where we wanted the connector blocks to fit.
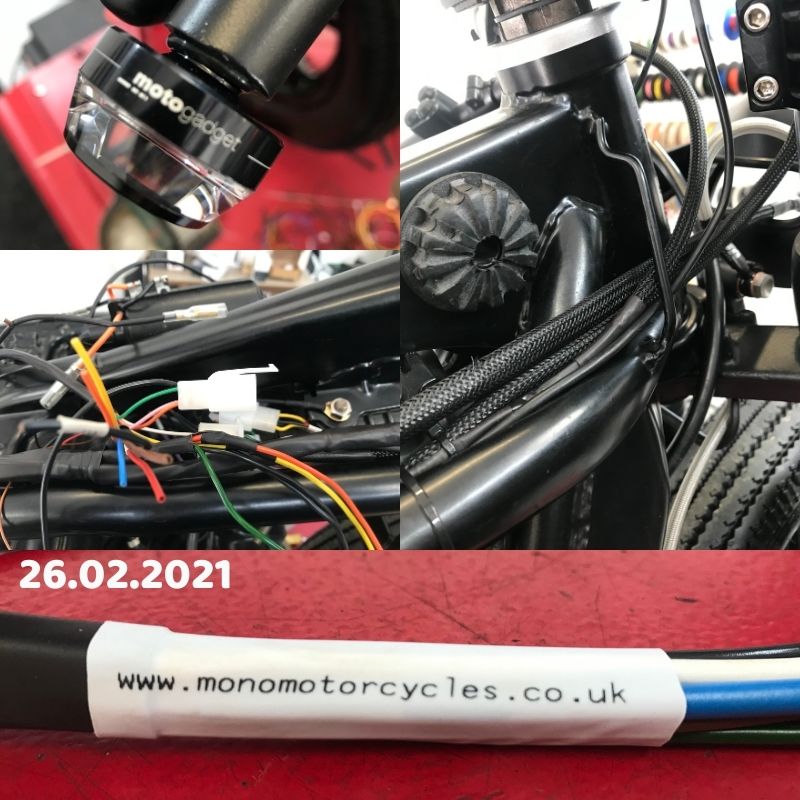
The motogadget m.blaze bar end indicators were fitted with a plug inside the handlebars for ease of service repairs. For the rear, our customer wanted an indicator which would fit inside the frame tube. Knowing the size of the frame tube, we found some orange lights which we assume are for a dash in a car. Less than £10 for the pair there are a bit more cost effective than £180 for the bar end indicators!
We started with the output loom, running each wire the length of the motorcycle, loosely cable tying the wires together. Once this was done, we were able to add in a few extra take offs from the indicators & high beam to go back to the dash lights.
At this stage the wiring was much too long, which gave us the flexibility to move the connector blocks to where we wanted them. Once each wire was in the correct location, we cut off the cable ties & heatshrunk the wires. Exposed parts were then covered in loom wrap. This not only looks neat, tidy & concealed, it also helps protect the wiring loom.
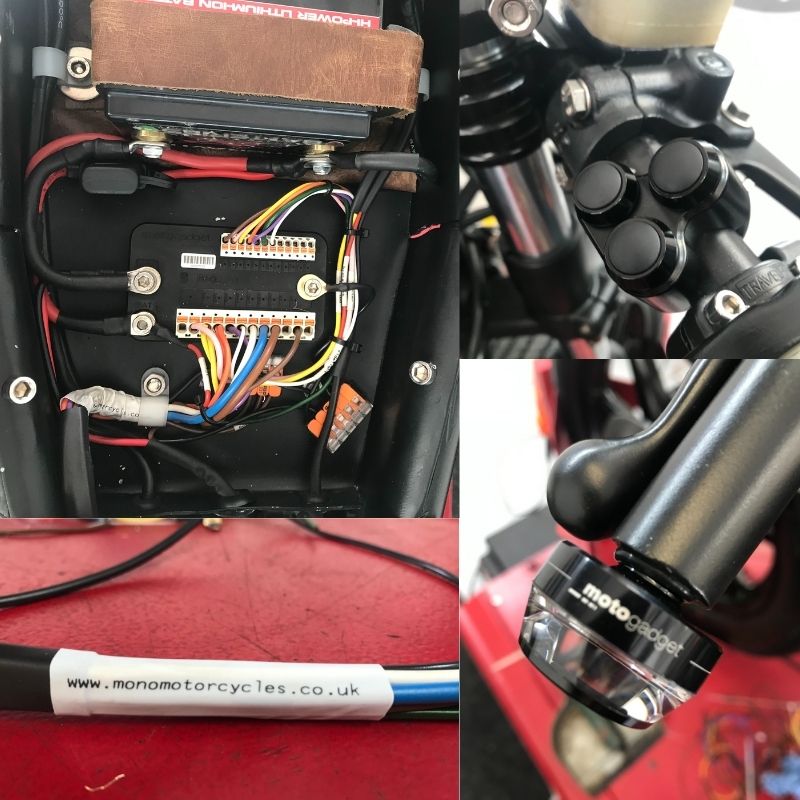
The loom wrapping was then repeated for the other side, but this was for the inputs to the m.unit from the switches. On this XS750 motogadget build we were again using the motone three momentary push buttons on each side. This gave us an extra switch for the mode on the motoscope mini dash.
Our customer also mentioned the battery was not particularly robust. Upon inspection the battery wasn’t really tough enough for the job & therefore we have upgraded it to an antigravity 8 cell lithium battery. The antigravity battery is not only extremely small at (L) 110 mm x (W) 58 mm x (H) 95 mm & weighing only 784 gram, but it also has 240 cold cranking amps!
There are some precautions when using lithium. One such precaution is it must not be charged over 14.1volts. Most modern bikes run anything up to 14.6 volts at high revs. Therefore if this was the case, we would need to change the regulator rectifier to prevent damage to the battery.
With the XS750 completed, we look forward to the next motogadget installs with a BMW K100 Custom, BMW R100 Custom, Honda CB750 Custom & a Custom Suzuki Bandit all coming in over the next few months.”
Daniel Morris – Proprietor at mono motorcycles & Motorcycle Wiring Specialist